How to Read an Ordnance Survey Map: Grid References, Contours and Symbols Explained
An Ordnance Survey map is one of the best bits of kit you can carry, and it never runs out of battery. The problem is that a fresh sheet looks like a bowl of coloured spaghetti until you know what the lines, colours and numbers are doing. The system behind it, though, is consistent and logical, and you can learn the essentials in an evening. Once grid references, contours and symbols click, you can plan a route properly, spot a steep pull before your legs find it, and pin down exactly where you are when the cloud drops.
Which OS Map Have You Got?
Nearly every walker in Britain ends up with one of two series. The OS Explorer range is drawn at 1:25,000, which means 4 cm on paper equals 1 km on the ground. That scale shows field boundaries, gates, small paths and individual buildings, which makes it the better choice for following footpaths. The OS Landranger series is 1:50,000, so 2 cm equals 1 km. It covers more ground per sheet and is handy for long-distance planning, but you lose some of the fine detail.
Before you head out, open the legend and check three things: the contour interval (how many metres each line represents), the date of the survey, and the notes on north. Paths and access arrangements change over time, so an older edition can send you towards a gate that no longer exists.
Grid References, Step by Step
The national grid covers the whole country in a set of squares. Two letters, such as SO or NY, identify a 100 km block. Inside that, blue lines divide the map into 1 km squares, numbered along the edges.
Four-figure references
Read the numbers along the bottom or top first (eastings), then the numbers up the side (northings). The old memory aid is "along the corridor and up the stairs". A four-figure reference like 4567 2345 pinpoints a 1 km square, which is plenty for describing roughly where you parked.
Six-figure references
For a precise location, imagine each 1 km square divided into ten strips across and ten up. Add the tenths to your easting and northing to get a six-figure reference, accurate to about 100 m. So 456 234 becomes 4565 2342 if the spot sits halfway across and a fifth of the way up the square. Mountain rescue, coastguard and the police all work in six-figure references, so it is worth practising until it feels automatic.
Contours: Reading the Shape of the Land
Contour lines join points of equal height above sea level. They are usually printed in orange-brown, with a number every fifth line telling you the height in metres. The interval is in the legend — commonly 5 m on Explorer maps and 10 m on Landranger.
- Lines packed tightly together mean steep ground. If they crowd together on your route, expect a proper lung-buster.
- Lines spread far apart mean gentle, rolling ground.
- Concentric rings getting smaller mark a summit. A small dot with a number beside it is a spot height — the exact top.
- A V shape pointing uphill is a valley or stream. Water flows down the point of the V, so the V always aims upstream.
- Short dashed or hachured lines usually indicate a hollow or depression rather than a hill.
Contours are also a simple climb calculator. If your route crosses ten contour lines on a 10 m interval, you are gaining about 100 m of height. As a rough planning rule, allow around twelve minutes per kilometre on the flat, plus about a minute for every 10 m of ascent, and add more time for rough ground, stiles and bog. Treat it as an estimate, not a promise.
Symbols Worth Knowing by Heart
You do not need to memorise the whole legend, but these come up constantly:
- Rights of way are shown in green. Footpaths, bridleways and byways use different dash styles, so check the legend — a footpath is for walking, while a bridleway also allows horses and cycles.
- Access land appears as a pale orange or pink wash. It means open country where you generally have a right to roam on foot.
- Woodland is green, sometimes distinguished between conifer and broadleaf.
- Water is blue: rivers, streams, reservoirs, and blue tufted symbols for marsh.
- Roads run from blue motorways through red A roads and orange B roads to narrow yellow lanes.
- Black line work covers walls, fences, buildings, crags, scree and boulders. Gaps in a wall line usually mean a gate or a stile.
- Facilities are lettered or pictured: P for parking, plus symbols for cafés, campsites, toilets and picnic sites.
Access rules are not identical across the UK — the rights of way system works differently in Scotland, where the access code is broader. If you are unsure about a route, check the relevant national body's guidance before setting off.
Putting It Together: A Five-Minute Route Check
Pick your start point and note its six-figure grid reference. Trace the route on the map and confirm you are following a right of way rather than a private track. Count the contour crossings to see how much climbing is involved, and locate the steepest section in advance. Then find your escape routes: a road, a farm track or a valley path that gets you out early if the weather turns. Finally, mark one or two junctions with their grid references and keep them as handrails — if you reach the second one, you know you are still on track.
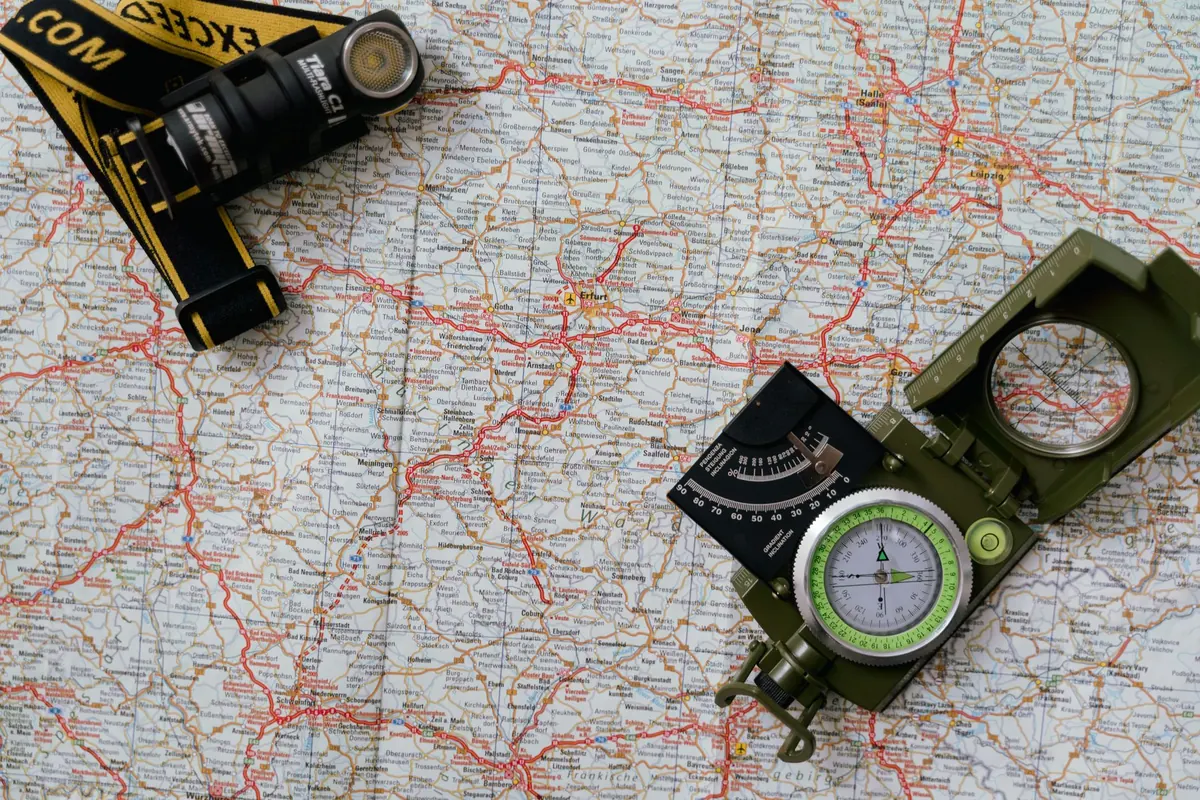
When you are on the hill, orientate the map by turning it until the features around you line up with what is printed. If visibility is poor, use a compass. Bearings taken from the map are grid bearings, and the legend explains how magnetic north differs from grid north and how that difference changes over the years, so you can adjust before you walk on a bearing.
Practice Before You Need It
The best place to learn is a walk you already know. Take the map, keep it folded in a case so the relevant section is on top, and predict what is coming: the bend in the river, the steep field, the junction of paths. Check your guess each time. Then practise at home — pick a hill, work out its six-figure reference, count its contour lines.
Carry a paper map and a compass even if you use a phone, because batteries die in the cold and screens crack. Tell someone your route and expected return time. And remember that a map is not a test you can fail; it is simply a description of the ground. The more often you read it, the more the land starts to look like the paper in your hand.
Photo: Tima Miroshnichenko / Pexels